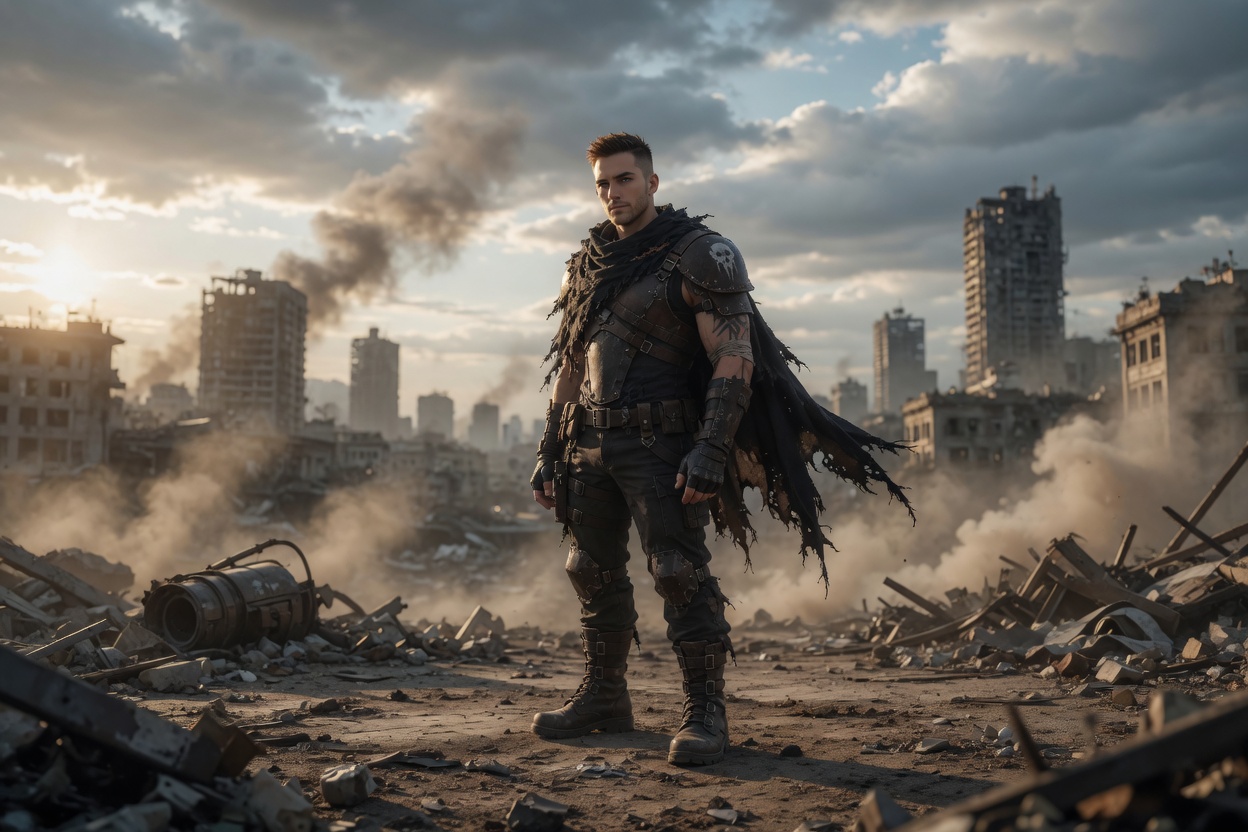
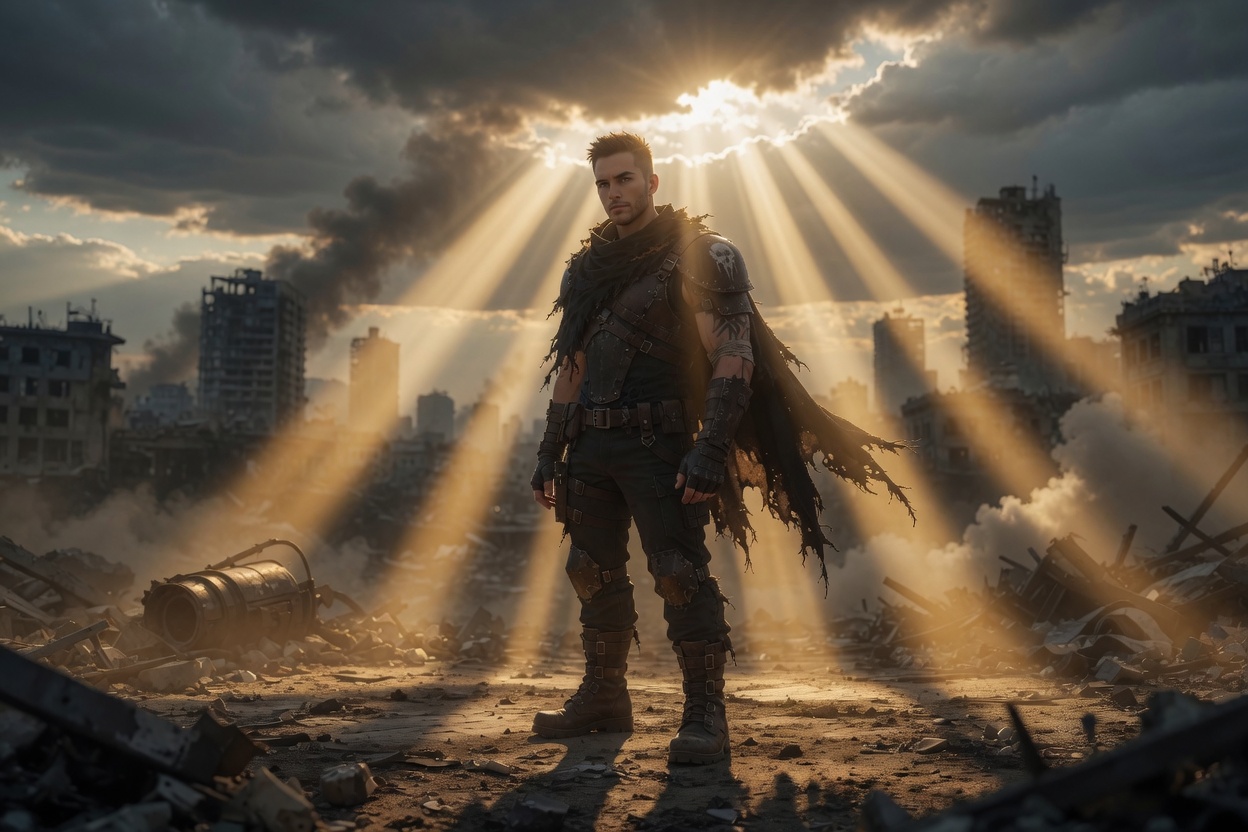
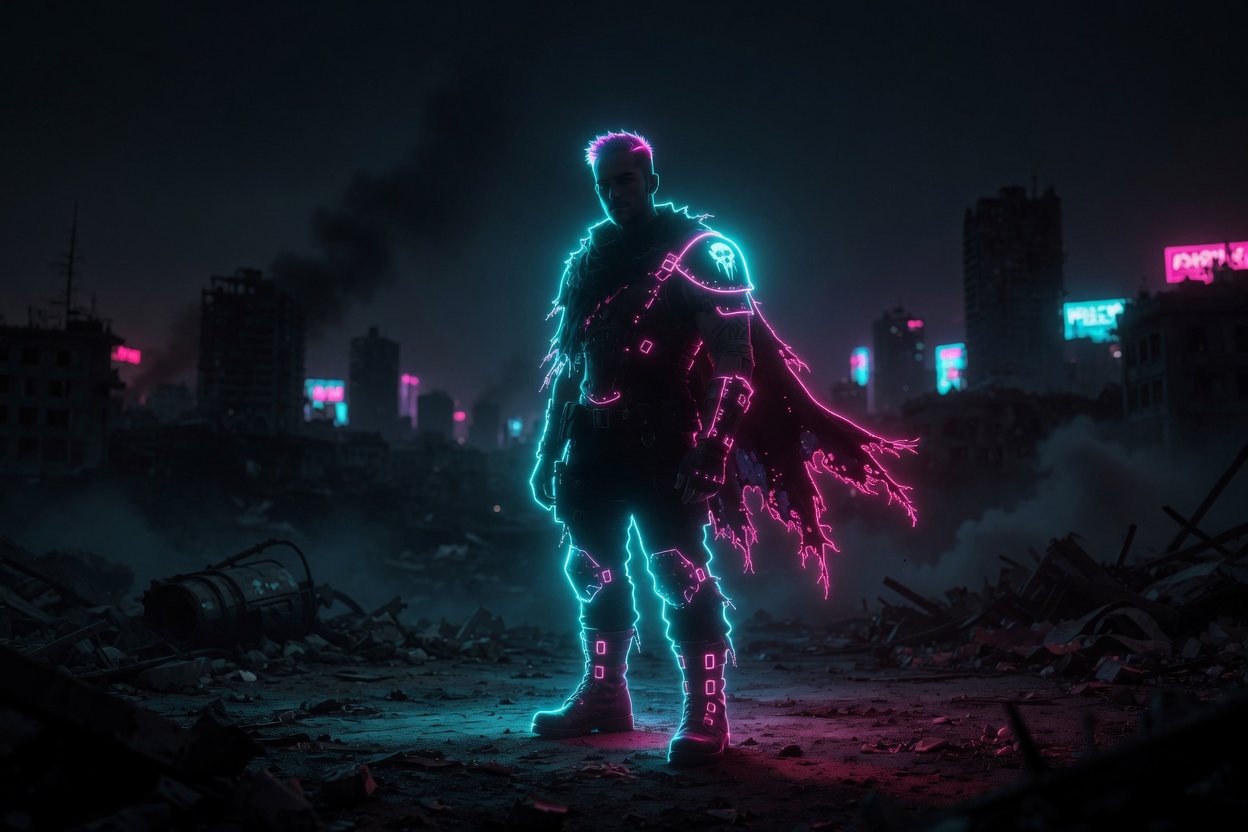
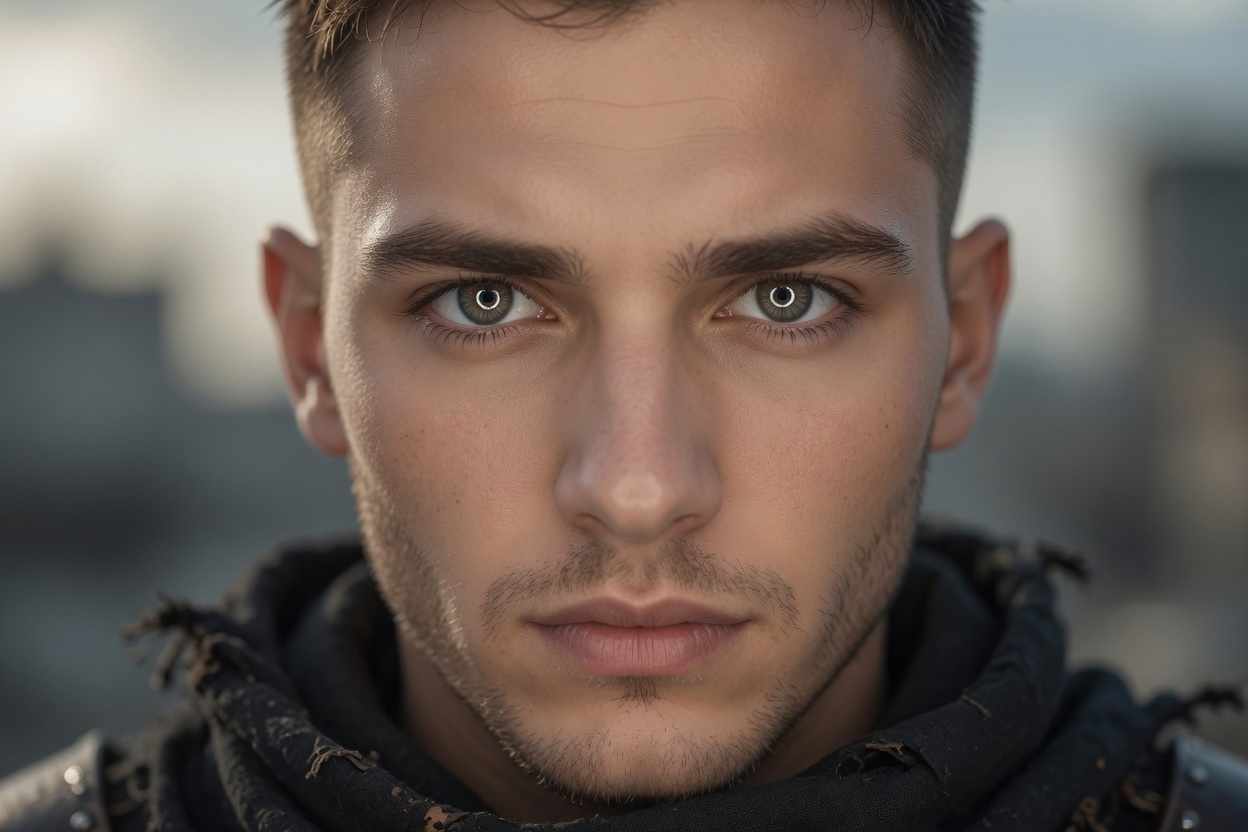
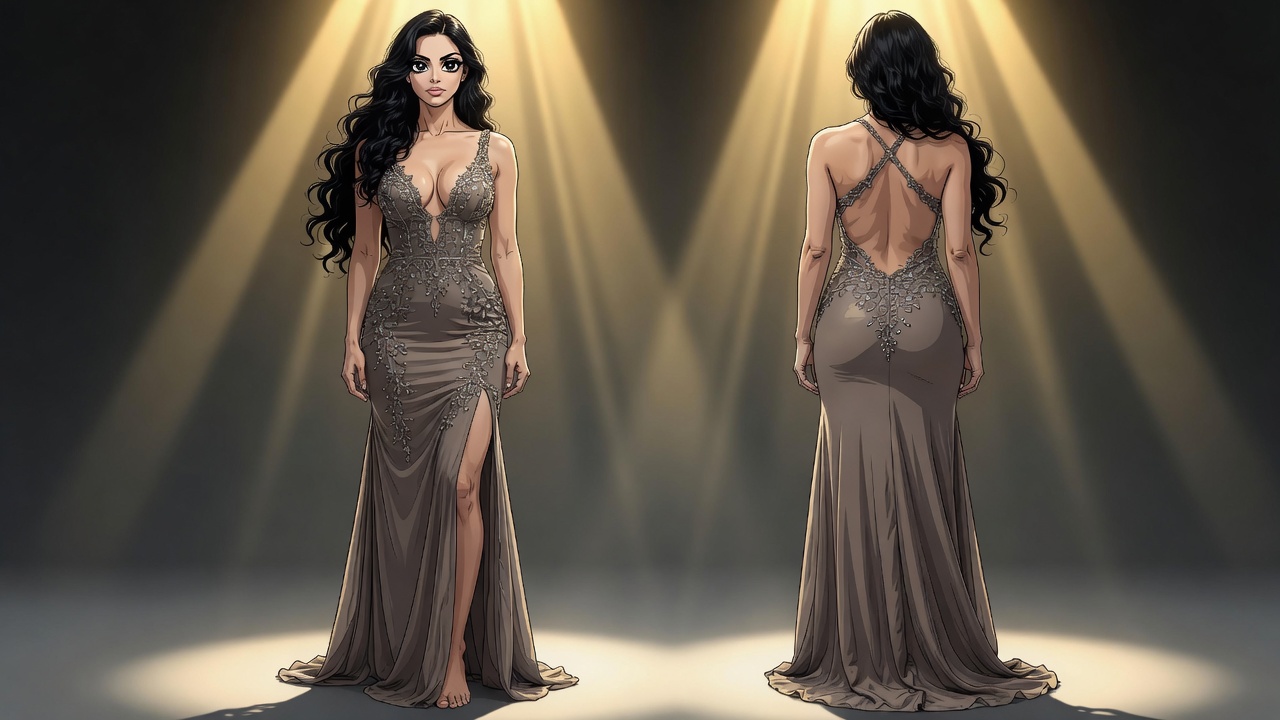
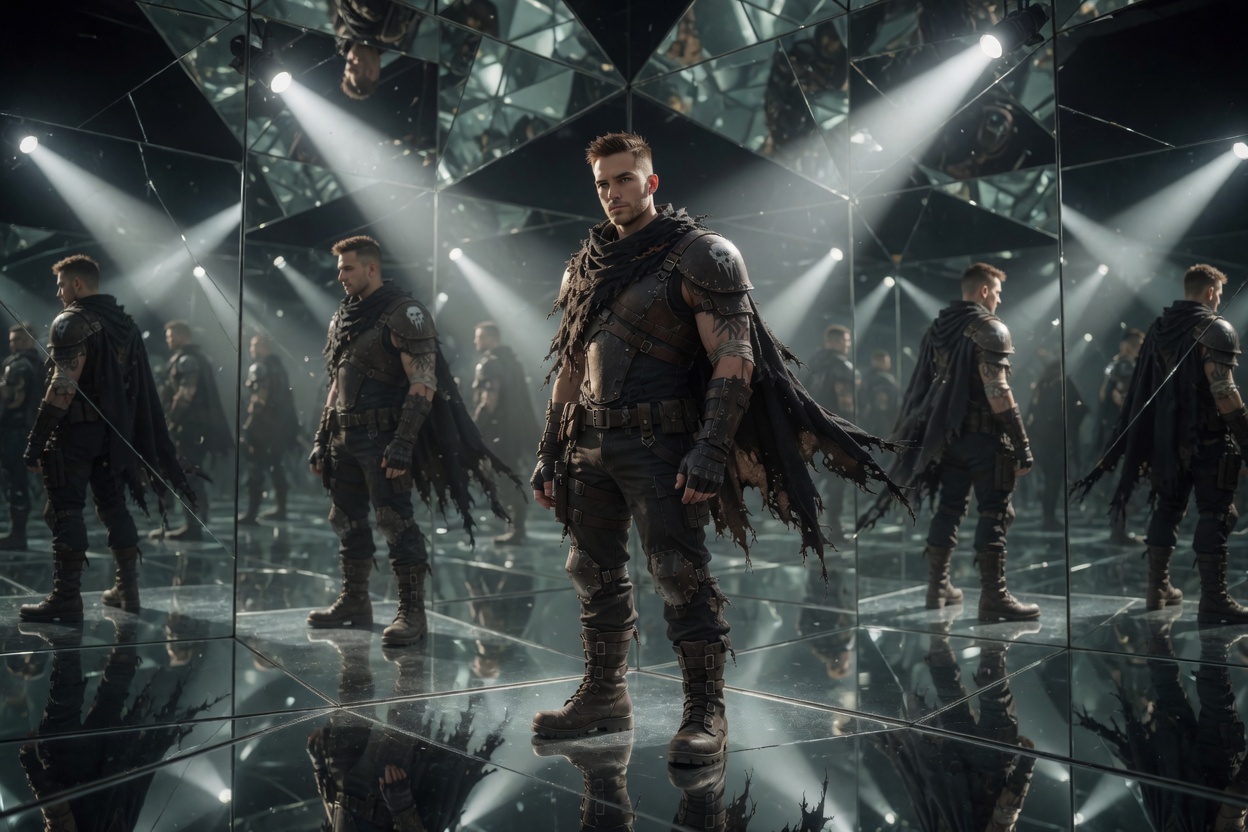
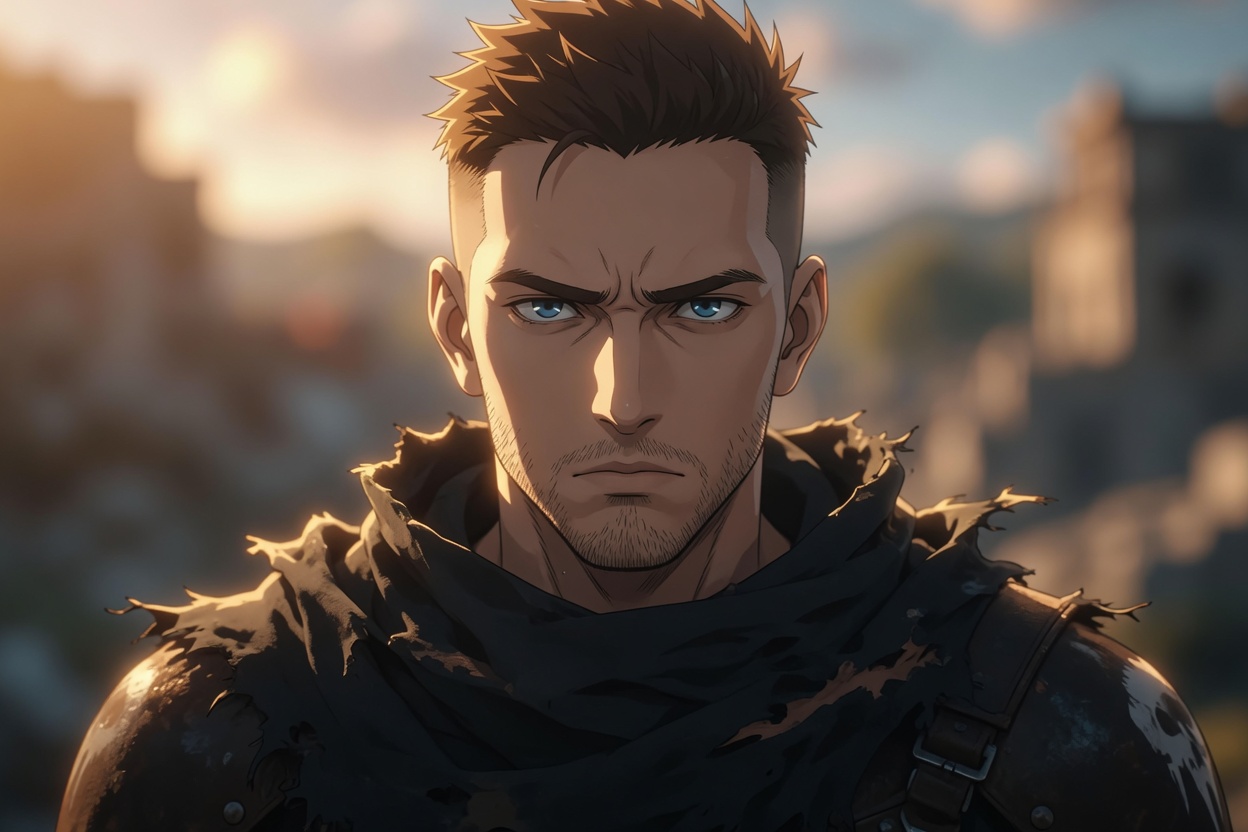
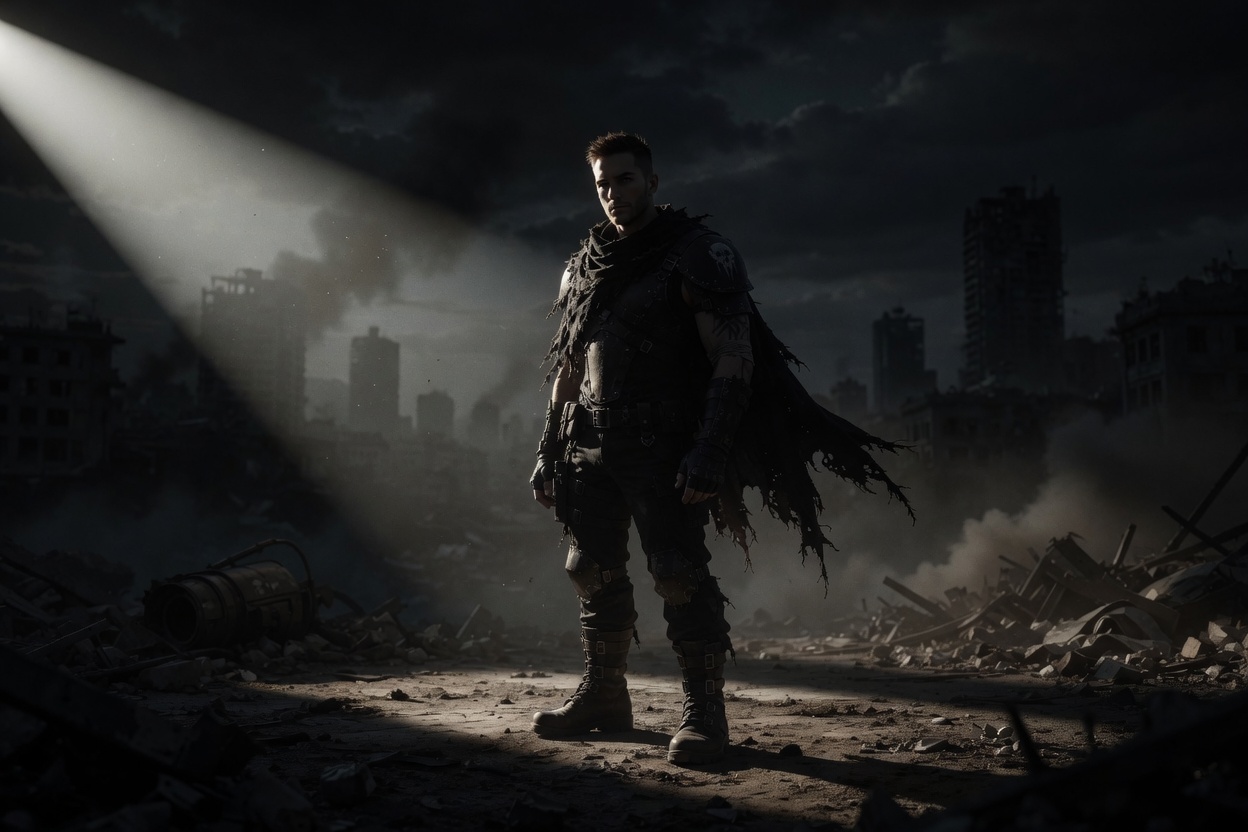
Direct the shot.
Own the light.
Shot Director is a lighting & camera prompt studio for AI stills and film. Browse real demo stills, mix techniques, and copy prompts built for your image — right here on the web.
Explore the libraries
From the still library
How it works
Upload a reference (optional) or skip. Set mood, or pick None to browse freely.
Camera, lighting, anime styles, and combos — each with example stills you can enlarge.
Drop picks into Photo or Film tracks, resolve conflicts, copy or save the prompt.
Paste into your image/video model of choice. Shot Director only builds the language.
Upload an image (optional) and tell it what you're going for, then hit Suggest — you'll jump to the Prompts tab. Prefer to skip the wizard and just browse techniques? Pick None under creative direction, or open 📷 Camera Angles from the sidebar anytime.
1 Upload your image
🖼️
Click to browse or drag & drop an image here
Analyzed in your browser — then adjust brightness, grade, and download a edited still.
No image handy? Skip and answer the questions only →
🎨 Anime Style Library reference
Three views: Mai / Razen still examples, or Character Profile Sheet Prompts — preferred image-only restyle commands (profile-sheet friendly, no video language). Apply to the Photography prompt with → Photo.
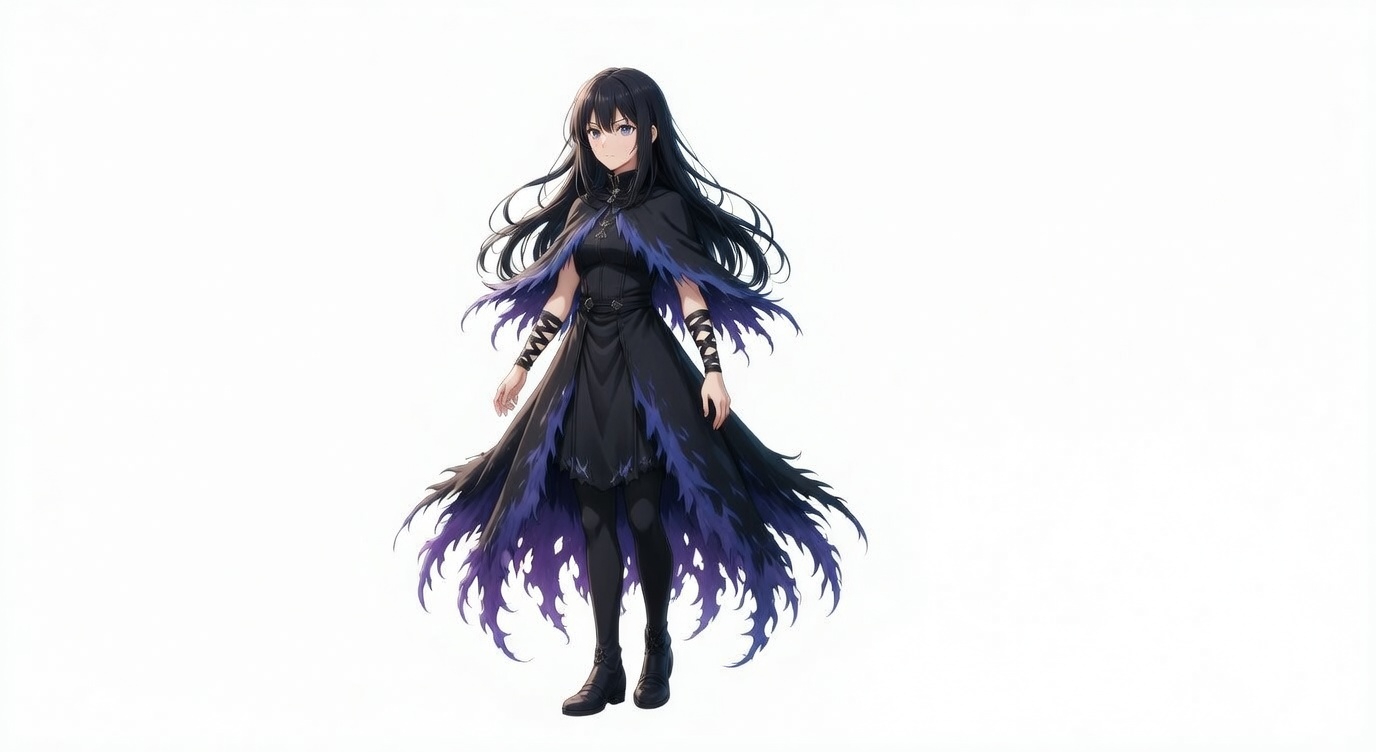
Pick a character below. Each card shows that style as a single still photo so you can judge the look before applying it to your Photography prompt.
🎞️ Photorealistic Style Library reference
Browse all 18 photorealistic looks (film stocks, lens/color treatments, director-coded grades, and more). Apply adds a style to that track's prompt alongside anything else you've picked — Copy just copies its description. Example images are added over time; a card without one yet shows where to drop the file in.
A photorealistic live-action cinematic film photograph of a real human male actor portraying the character in this reference sheet.
Convert the 2D anime illustration into a real live-action person with realistic skin texture, realistic facial features, natural hair, and real leather and tactical fabric clothing.
Put this person in a film style of (Alley, sofa, etc...) — then add one of the styles below.
📷 Camera Angle Demos Razen reference
One still photo per Camera Shot using Razen (Refrence/man.png) as the model so you can see how framing and angle change. Click a card to enlarge, then apply that camera technique only to your Photo or Film prompt (does not set an anime style).
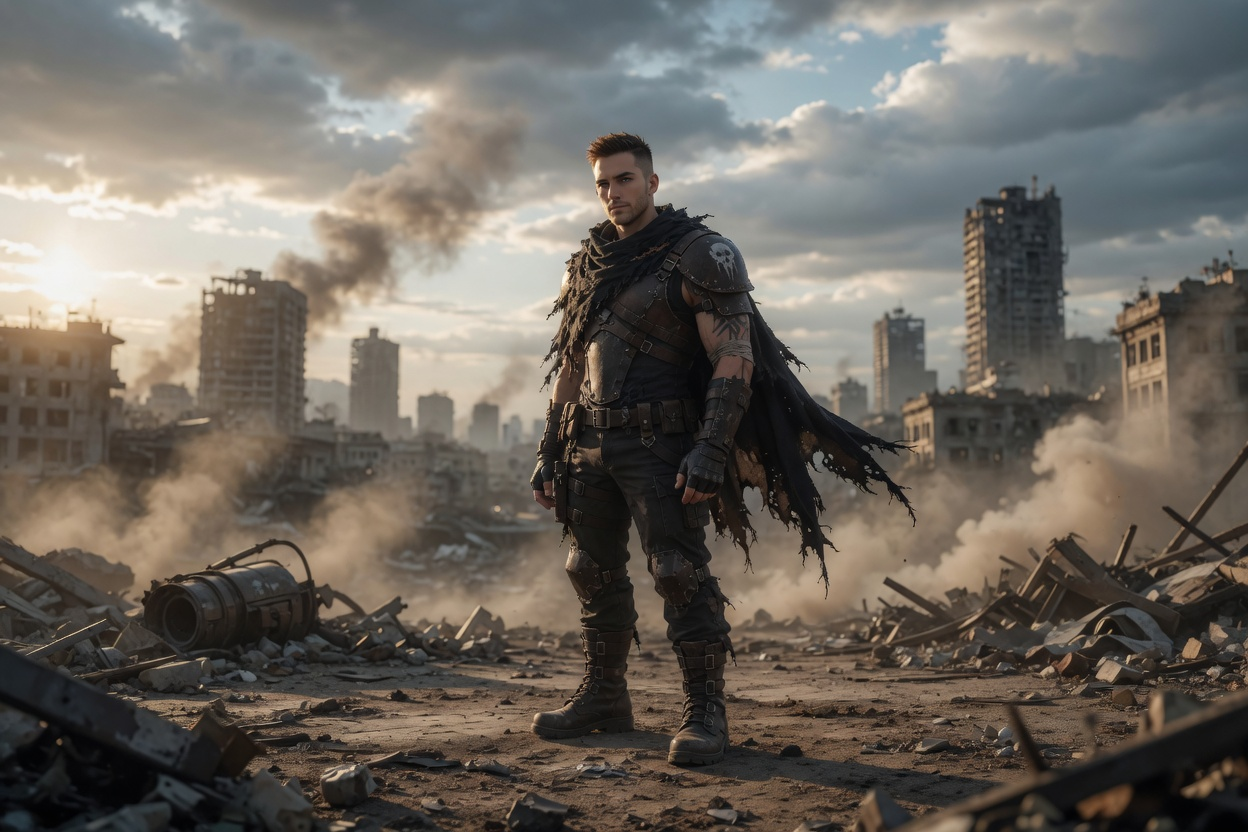
Same character reference so the demos are comparable. Motion-only shots are frozen keyframes. Applying a card adds the shot to your prompt — not an art-style block.
🎥 Camera Control 3D pose room
Pose articulated figures in a 3D room and orbit the camera to frame your shot. Drag empty space to orbit · scroll to zoom · WASD to fly, Q/E down/up, hold Shift to go faster · pick a joint below (or click a limb in-scene) then drag the ring gizmo to pose it. The detected camera angle feeds straight into your Photo/Film prompt. Add simple figure gives you a basic 2-arm/2-leg figure with no elbow/knee bend, for quick standing/sitting poses — Add detailed figure keeps the full ~14-joint rig for finer control; mix both in one scene.
❔ How to use Camera Control
Camera
- Drag empty space to orbit · scroll to zoom.
- W A S D — fly forward / left / back / right.
- Q / E — fly down / up. Hold Shift to move faster.
- Keyboard flying is disabled while typing in a field, and while a camera-rail take is playing.
- 🎥 Reset camera (in Camera Rail & Export) snaps back to the default framing.
Posing a figure
- Add simple figure vs Add detailed figure: simple is just Torso/L Arm/R Arm/L Leg/R Leg — each limb moves as one rigid piece, no elbow/knee bend — good for quick standing/sitting poses. Detailed adds shoulder/elbow/wrist/hip/knee/ankle joints for finer control. Both can be in the same scene.
- Pick a figure chip at the top, then a Joint from the grouped dropdown — or just click a limb in the 3D view. The selected limb lights up teal so you know what you're about to move.
- Click the small circle next to a figure's chip to give that figure its own skin color — handy for telling multiple performers apart at a glance.
- Drag the coloured rotation rings to pose that joint.
- Switch Pose limb → Move to drag the whole figure (or a scene object) around instead of a single joint.
- Pose preset applies a ready-made pose to the whole figure in one click; ↺ Reset pose undoes all posing back to the neutral stance.
Scene & objects
- Add object drops a box / platform / pedestal / cube / wall into the scene — drag it with the Move gizmo.
- Every object gets a chip in the Objects row — click one to select it instead of hunting for it in the 3D view, then 🗑 Delete object (or the
Deletekey) removes it. - Figures and objects are rested on the floor automatically — when added, when a pose is applied, and when a scene loads. ⬇ Snap to floor re-rests the active figure by hand: it stands on whatever is directly beneath it, so move a figure over a platform and snap to stand it on top.
- 📸 Screenshot downloads the current view as a PNG. 💾 Save / Load saved store and recall a whole scene (figures, poses, paths, objects, camera) in this browser.
Character paths
- ✏️ Draw path, then click the floor to drop waypoints for the active figure. It walks the smoothed curve through them, turning to face the way it's going, with a real gait cycle.
Escleaves draw mode. - Each figure gets its own coloured path. ▶ Preview walk plays them from wherever the camera is; every path also plays during a camera-rail take, so ⏺ Record captures the camera move and the blocking together.
- A walker steps up onto any platform its path crosses, and every figure snaps back to its original pose when the take ends.
Camera rail (multi-shot moves + video export)
- Build a shot from one or more segments — each has its own move, target (whole cast or one figure), duration and easing, and they play back-to-back in order.
- Custom path: frame a shot, click + Add here to drop a waypoint, repeat — plays a smooth curve through every point you captured, starting from wherever the segment before it ended.
- ▶ Preview plays the sequence without recording. ⏺ Record & download exports a real MP4 (or WebM) video file at your chosen resolution/fps. ⏹ Stop ends the take early — a recording in progress is still saved.
Sending it to your prompt
- → Photo / → Film write the whole scene into that track's prompt: each figure as
image_1,image_2… with its pose, position, spacing/depth from camera, plus the detected camera angle and any camera-rail move. - 📋 copies just the scene-prompt text without switching tabs.
🦾 Pose
🧱 Scene & Objects
🏠 Room / Set
Build the set your shot happens in. Like a real stage, one wall is left open — the "fourth wall" the camera shoots through — so the default view looks straight in. Orbit further round and any wall that gets between you and the set hides itself, so you're never staring at the outside of a box. Walls are not clickable and figures never climb them; click through a wall to select whoever's behind it.
🚶 Character Paths
Give the active figure a route to walk. Hit ✏️ Draw path, then click the floor to drop waypoints — the figure walks the smoothed curve through them, turning to face the way it's going, with a real walk cycle. Each figure gets its own coloured path, and every path plays during a camera-rail take, so ⏺ Record & download captures the camera move and the blocking together.
🎬 Camera Rail & Export
Build a shot out of one or more segments — each plays after the last, in order. e.g. segment 1: crash zoom on Figure 1 (2s); segment 2: 360° orbit around the cast (6s, slower).
💡 Lighting Library Master list
Every Lighting Technique (and Lighting + Camera combo) from the Master Shot & Lighting List. Browse, search, enlarge the demo still, or apply a pick straight into your Photo or Film prompt. Use Compare on two cards to view them side by side — same character reference so differences are pure lighting (or lighting + framing for combos).
⚖ Lighting compare
🌱 Shared Seedance Prompts @MusicSatire
Your shared Seedance fight / camera prompts with YouTube Shorts and X previews. Open the video or copy the prompt. Channel: youtube.com/@MusicSatire · X: @MusicSatire
🏆 Community Project of the Week
Made something with Shot Director? Share your prompt and a picture of the result — the best get featured as Project of the Week.
Submit your prompt & image
🛡️ SFW only. Every submission is human-reviewed before it appears — nothing goes live automatically. No nudity, hate, or abuse.
🎬 Skyebrows Prompt Library reference
Each original preset has a still keyframe demo. Newer entries scraped from @Skyebrows (full Grok text when posted on X + Grok Imagine links). Click a thumbnail to enlarge, apply with → Photo / → Film, or pick from a prompt's 🎬 Skyebrows preset dropdown.
All presets (dropdown + stills)
🪄 Transparent Background Tool
Upload an image with a solid green, blue, or white background and knock it out to transparency, then download a PNG. Processing happens in your browser on this page.
🖼️
Click to browse or drop an image
…or click the preview to sample the exact colour. Current target: —
How close a colour must be to the target to be removed.
Colour ramp: how gradually the cut fades as pixels approach the target colour.
Softens the cut-out shape itself — best for wispy hair and fine lines.
Neutralises leftover green/blue colour cast on the kept edges (no effect on a white background).
On = the keyed cut-out (checkered = transparent). Off = the original image, background and all — handy for comparing.
Hand-paint an area fully transparent, independent of the color key. Only visible when "Show transparency" is on. Cropping, rotating, or straightening clears it.
Drag a box, or double-click to auto-select a blob of similar color. The tolerance/softness/spill sliders above then apply ONLY inside your selected area(s) — nothing outside them is touched. Cropping, rotating, or straightening clears your selections.
No area selected yet — the key applies to the whole image.
🎨 Adjust image (Tier 1 tools)
Crop, rotate, grade and match a library look — same engine as the Setup tab's Adjust image panel, applied here on top of the cut-out. Runs in your browser.
Soft-background blur isn't offered here — Edge feather above already softens this cut-out's edges, and there's no background left to blur once it's transparent.
★ Your filters
Shared with the Setup tab's filter library — saved here or there, either shows up in both.
Slice a sheet of separate images into individual PNGs. Set the rows and columns, then drag any line to line it up exactly.
Applies to the downloaded PNG.
Upload an image to preview the cut-out here.
👾 Sprite Maker
Turn an uploaded image into a pixel-art sprite — pixelate it, snap it to a retro palette, knock out the background and add a sprite outline, then download a transparent PNG. This is an in-browser pixel-art converter (not an AI redraw); for a full AI "reimagine as a game character", build a prompt on the Prompts tab and run it through an image model.
🖼️
Click to browse or drop an image
Longest side of the sprite grid — smaller = chunkier pixels.
Upload an image to make a sprite.
🧝 AI Character Sprite
Upload a character image and turn it into an LPC-style pixel-art sprite with a generative AI. Claude can't make images, so this needs a backend: a free local Stable Diffusion server (AUTOMATIC1111 / Forge / ComfyUI — best, because it works image-to-image off your upload) or a cloud image API (OpenAI, Grok/xAI, Stability…) with your own key. The prompt below always works — copy it into any AI tool even without wiring up Live Generate.
🖼️
Click to browse or drop a character image
⚡ Live Generate (advanced — needs your model/key)
Higher = more stylised / less like the original photo.
Upload a character image, copy the prompt into your AI tool, or run Live Generate.